
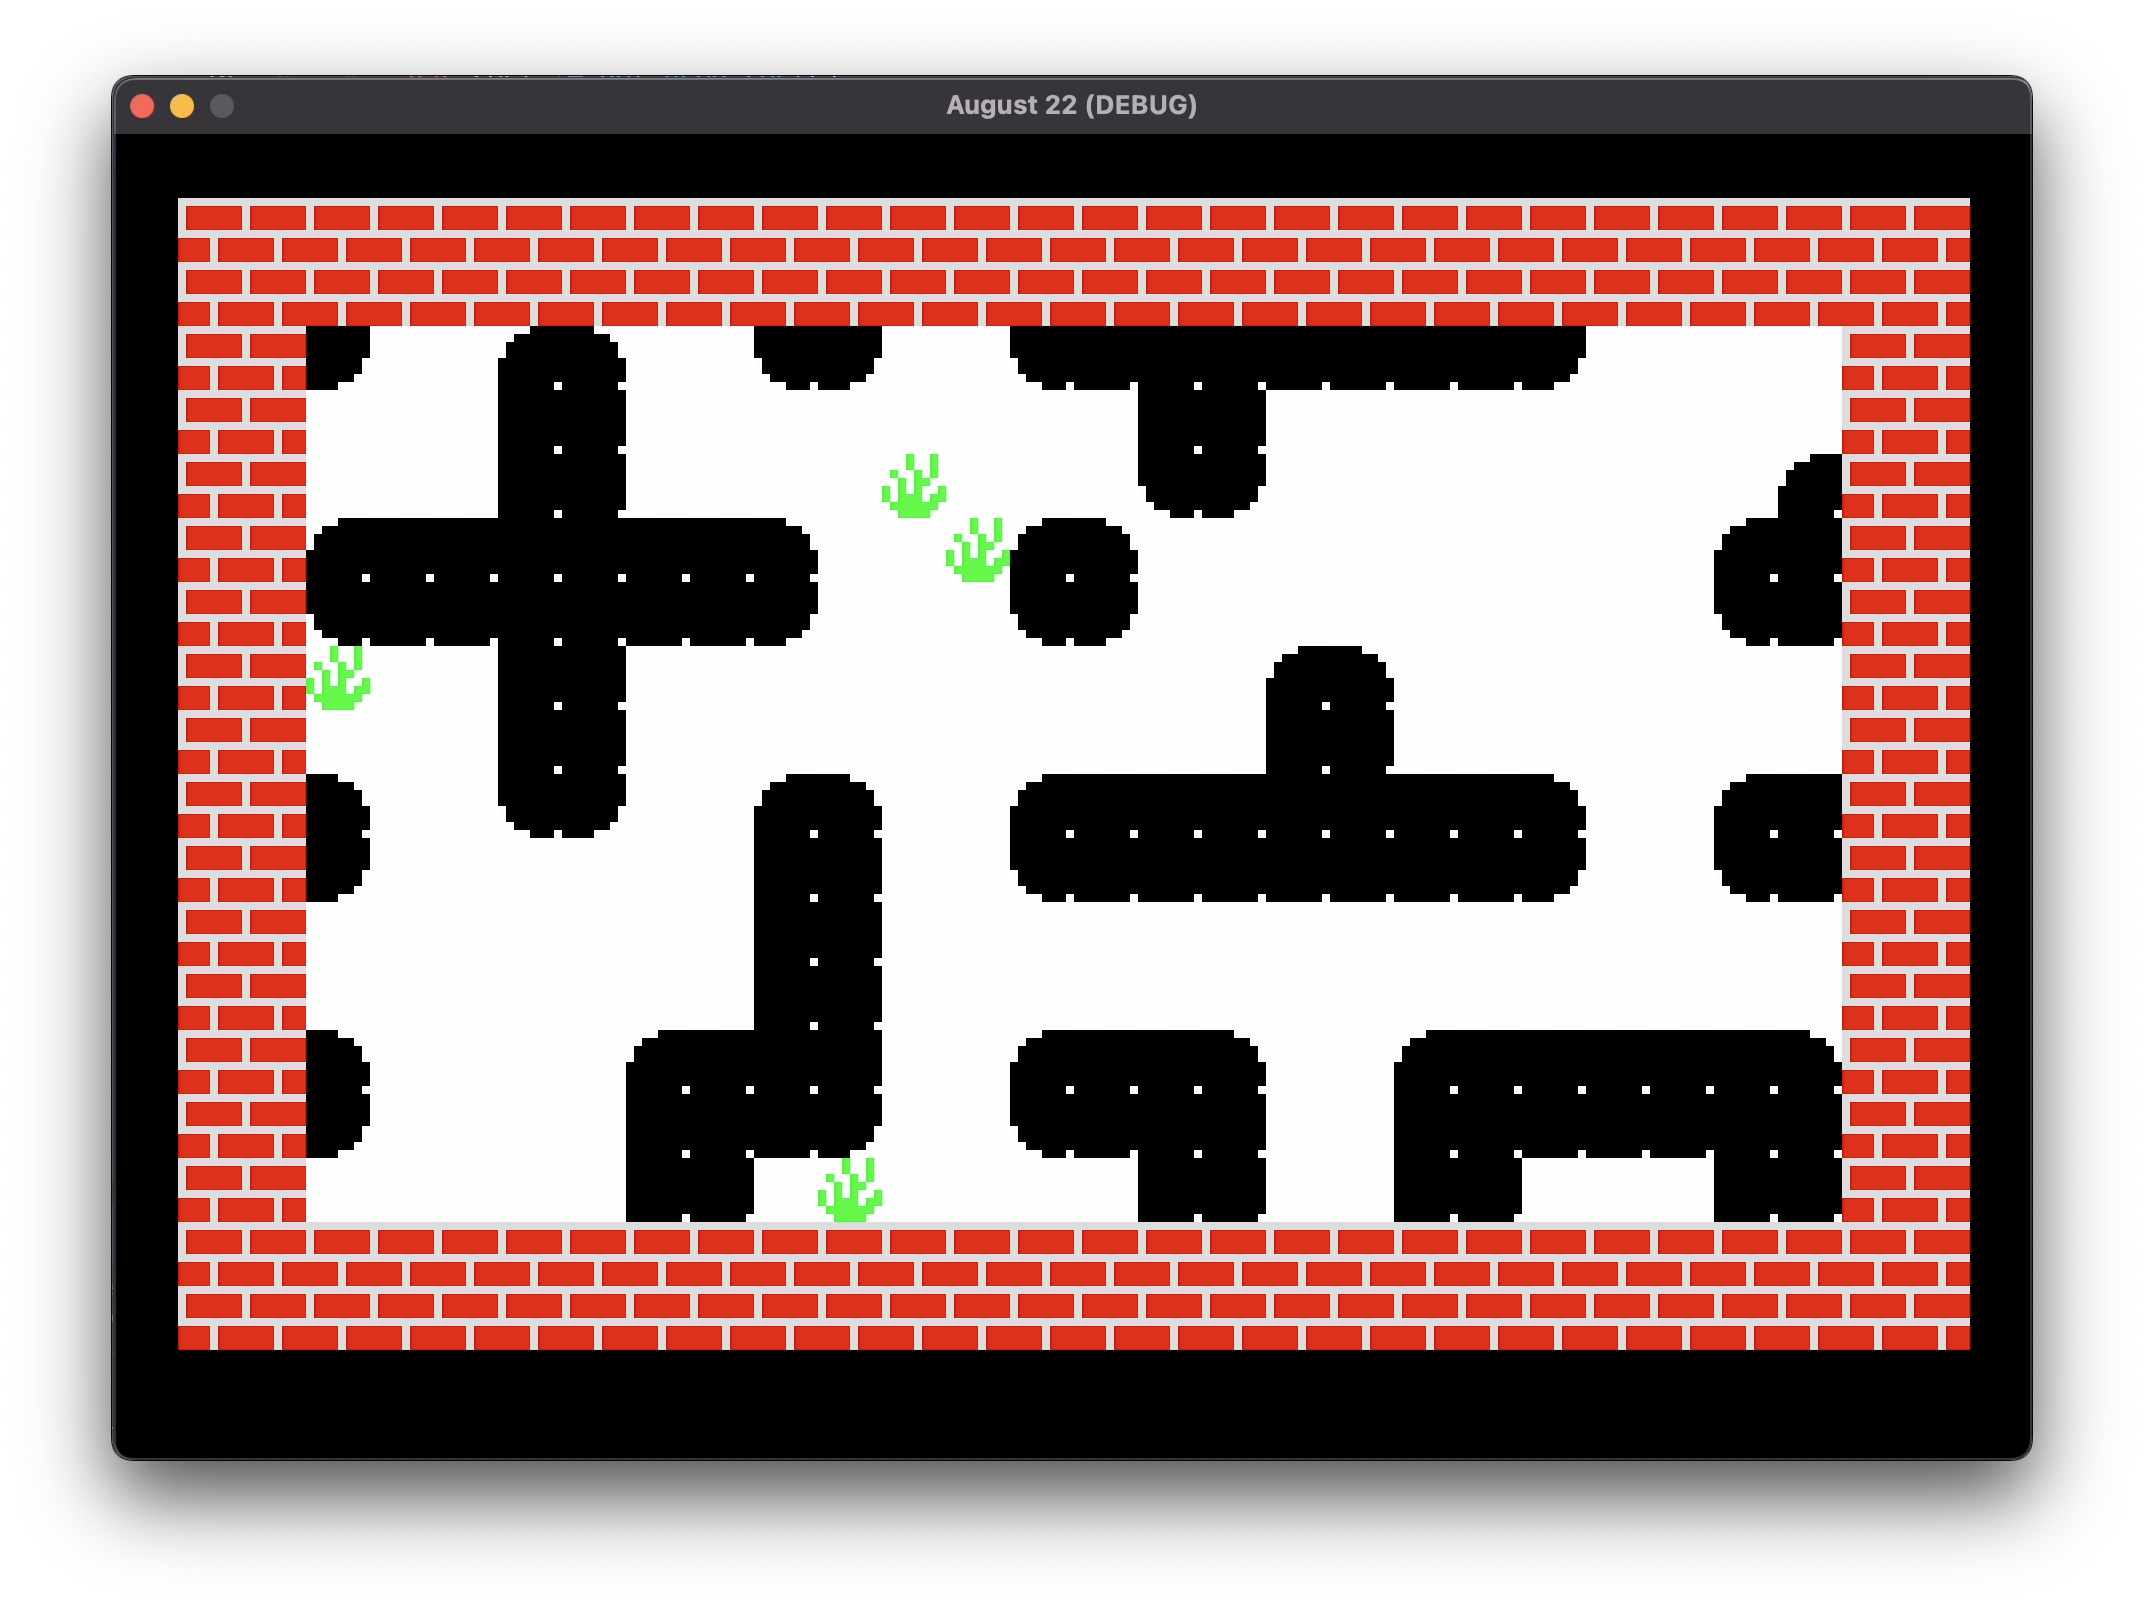
Last time I explained how I got the map into Godot from the image provided by https://maps.speccy.cz. Since then I’ve spent some time experimenting with different ways of representing the view of the original game. In Splat! there is a window onto the play area, 24x14 cells, which is surrounded by a brick wall, which is the barrier against which Zippy (the protagonist) gets squished when out of luck. There are a number of different ways to achieve this effect in a modern system such as Godot. The first I tested out was to have the map fill the screen, and then add a secondary layer with the surround that sat on top of the map layer, separated by using z-index to ensure the order is correct. This worked ok, but felt like a bit of a hack, and required either a special image, with a fixed size, for the overlay, with the viewport in the center being transparent to show the map through, or some fiddling with multiple parts to create a frame, neither of which I was happy with.
The second method, which is the one I settled on, was to create a secondary viewport. In Godot you can create many viewports, each with their own world, camera etc. and then render them very easily into a separate bitmap that you can then use in a GUI layer. You can see the simple node tree that implements this below…

The top level is a Node2D, which is the basis of all 2D game nodes in Godot, below that a CanvasLayer, which implements a GUI system within the main scene, this is used to provide a different layout method for GUI controls whether overlaying a 2D or a 3D scene in Godot. The children of the CanvasLayer implement a simple separate viewport, the ViewportContainer is a Control node, so inherits all the flexible layout and responsive features of all GUI controls in Godot, and takes away most of the complexity of rendering a separate view, it will basically render the Viewport node that is a child into an offscreen bitmap, and then draw it into its own region on the main screen. The Viewport is just that, a view into a scene, anything below that node will render to it, it has its own size separate from the game screen size, rendering controls, audio controls and many other things. Anything outside that node will render to the default viewport at the root, that is not shown, but always available. So for example, the Border node, which is a Tilemap renders to the main viewport.
The map movement is handled by the standard EventBus system that I’ve mentioned before, which is part of my standard toolkit of common parts that I bring into every project as a kickstarter. This means that it was easy to add some simple keyboard handling to the Game node to send map move events via the bus, that the map will listen to to move the map around and test the scrolling. Ultimately, these events will be sent by the game logic that controls the random scrolling that is a key part of Splat!
Next up, adding Zippy and getting them moving.